Fast Fabulous Hair Ups
If you’re anything like me, this time of year is the worst for our hair! With our social calendars full, we have even less time for ourselves than normal. And then there’s the unpredictable Auckland weather.
We may look primped and preened prior to leaving the house, but once we reach our destination, our luscious locks have turned into a frizzy mess, flat on top and bouffant on the bottom, resembling an impressive 80’s mullet. This is a look most find very hard to pull off so we have set about creating a few hair ups that require zilch time, but look fab every time!
You’ll need a few tools before you start:
Comb – Any variety, texture or colour.
Bobby Pins – Preferably ones close to your natural hair colour.
Hair Spray / Lacquer – The stronger hold the better.
Texturiser – Any dry, matt, densifying product. I recommend Kevin Murphy’s Fresh Hair or Powder Puff.
Back Mirror – To be able to check the back of your style.
Dirty Hair – yes you read right! Hair ups are never as successful on freshly shampooed hair! Day two is usually ideal.
Accessories – optional flowers, headband etc.
On dry hair take your first section; a large rectangle on top of your head, usually from mid eyebrow either side, to crown. Clip your sidesout of the way.
 .
.
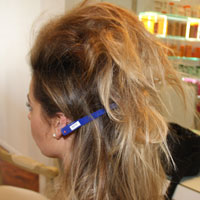
Take horizontal sections between 1cm and 1inch thick, starting at the front and backcomb. (Pull section up, insert comb from back approximately half way up and slide down to root). Continue through rectangle.
Apply your selected texturising product and knead into hair giving volume and hold.
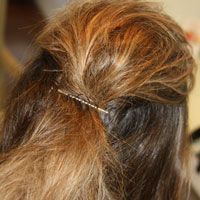
Gather the entire section and pull pack to crown, lightly smooth with fingers. Slightly twist and secure with bobby pins at crown.
Pull your first side back and up (section ending behind ear) and secure with pin where your top section is pinned. Repeat with other side.
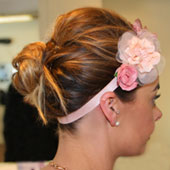
If accessorising with a headband, put this on now. Give your hair a quick spray with your lacquer. There are no rules or guidelines where you go from here!
Some suggestions are:
Twist all remaining hair up and around, creating a bun shape, and secure. Remember placement!
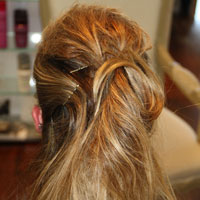
The higher the bun, the thinner your face will look!
Split the remaining hair into two horizontal sections. Pull the top section up and wrap around two fingers (creating a roll) and secure. Repeat with the bottom section.
Twist the remaining hair vertically, creating a French roll effect.
Split remaining hair into three ‘pie’ sections. One at a time, twist firmly upwards and secure. Then either loop each section back on itself or use one section to wrap around the other two creating a pony; or twist all three into a bun and secure.
If you find you’ve managed to create one tuft of hair in the middle, a good gel scrunched through will separate it nicely. Once you’re happy with the final result, spray to set with Infinium Lumiere.
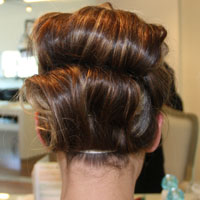
And don’t forget, it’s practice that makes perfect!
At Oblique we are proud to offer bespoke styling lessons! Your chosen stylist will set aside one hour to teach you how to create new styles.


